Kids Fishing: The Ultimate Guide for Fun and Family Bonding
Fishing is not just a pastime; it’s a tradition, a way to connect with nature, and an excellent opportunity for family bonding. Introducing kids to fishing can be a rewarding experience, fostering patience, enhancing motor skills, and creating lifelong memories. This comprehensive guide will help you get started with kids fishing, ensuring a safe, fun, and educational adventure.
I would like you to just use this as a guide, change what you need to suit your situation and budget as every situation is unique. If you find that I have missed anything or if you have any other information to help other out when taking the kids fishing, let us know so we can share with everybody.
Have a read but more importantly ~ Maintain the Passion!
Why Kids Should Learn to Fish
Fishing offers numerous benefits for children:
- Patience and Focus: Waiting for a fish to bite teaches patience and the importance of focus.
- Appreciation for Nature: Spending time outdoors fosters a love for nature and wildlife.
- Family Bonding: Fishing trips create lasting family memories and strengthen relationships.
- Motor Skills Development: Casting, reeling, and handling fishing gear improve fine and gross motor skills.
- Confidence Building: Catching a fish boosts a child’s confidence and sense of accomplishment.
Choosing the Right Gear
Selecting the appropriate fishing gear for kids is crucial to ensure a positive experience. Here’s what you need:
Fishing Rods and Reels
- Kid-Friendly Rods: Opt for shorter rods (4-5 feet) with smaller grips, designed specifically for children.
- Spincast Reels: These are easy to use and less likely to tangle, perfect for beginners.
After all you don’t know if this is just a faze that the kids are going through, you don’t want $200 – $300 worth of fishing gear sitting in the shed for the next few years doing nothing!
Once you get the kids fishing and they become full-on Fisho’s then you can get the better gear.
If you have one or two kids then sometimes you might get away with just the one fishing rod to start, most times the kids fishing will share.
Dad and Mum’s, you are probably kidding yourself if you think you will get a chance to fish for the first few trips.
Mums and dads are there for transport, untangling lines, baiting up and fish removal!
Location: Where do I Take my Kids Fishing?
Safety, safety, safety! This is the first thing we should consider when planning a fishing trip with your kids.
Beaches, Jetties and Creeks would be some of the first places that I would consider visiting with your kids as they normally have other important facilities located with them like Toilets, Play Grounds, Sheltered areas and Food, you have got to have food nearby!
You have to remember that sometimes the fish just do not want to play the same game you do and this is when the kids will lose interest really quickly.
You will have a few options, tough it out with the fish, pack up and spend your quality time in the playground and head off home and hope for better luck next time.
There are plenty of areas that will provide a kids playground really close to your fishing spot, we have attached a map with a couple of those locations for you.
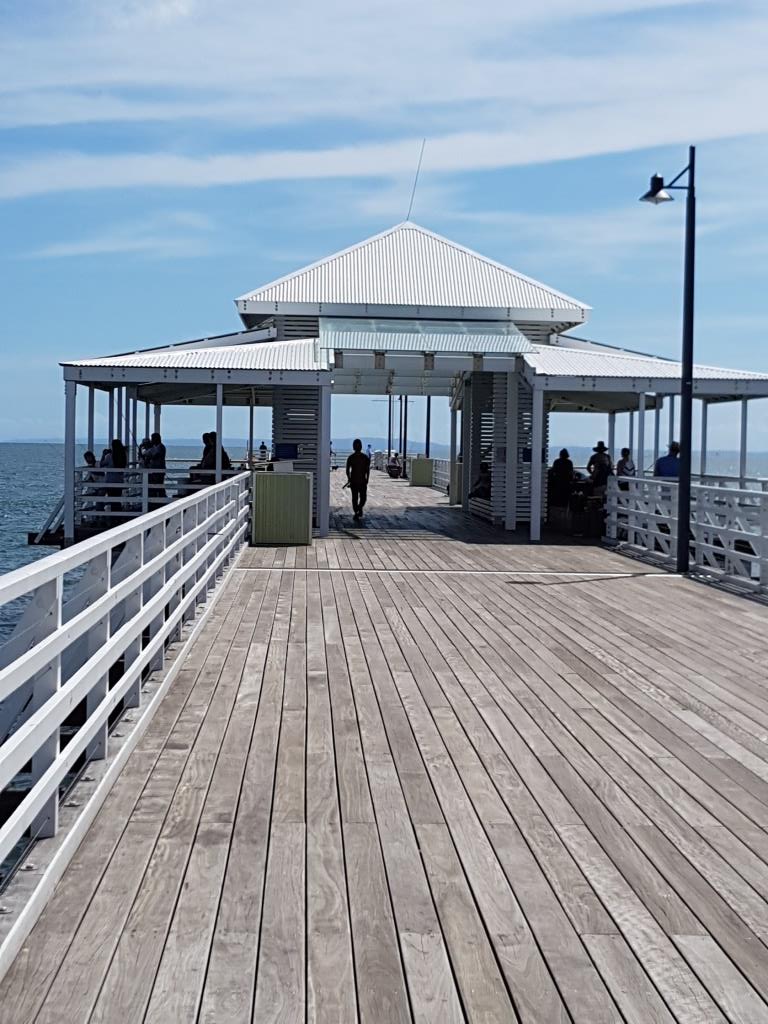
Jetties or Piers are normally the No. 1 spot to start your fishing adventures as the Local Council goes to great lengths to provide you with cracker facilities, toilets, shaded areas, even BBQ’s in some spots, which all help make you outing.
Never Look Past a Good Jetty!
Another reason I like local jetties is that you can keep a very close eye on your young ones as they explore the area.
There are normally plenty of other fisho’s out there who are very willing to share their knowledge with young ears.
Everything from what they are catching, how they are catching it and the gear they are using.
Your local fisho’s are an awesome resource when it comes to helping out if you get yourself into a pickle, there is always a helping hand close by when you need it and really there are very little problems that cannot be solved there on the spot!
The best advantage about taking the kids fishing on a Jetties is that they do not need to know how to cast their rods out (This takes some pressure off parents as well!) all they need to do is drop their line straight down from the railing, let it hit the bottom and the game has begun.
Fish normally hide in and around structures, firstly for their safety and secondly to find food which grows or hides on the pylons and other structure under the jetty. There is an awesome little ecosystem under your feet.
How far do you want to go? Well I found out with my own kids fishing adventures, that at the start of the trip there was soooo much energy but this quickly diminishes as the day gets longer and on the way home you end up carrying 99% of the gear you took out.
Try and keep the distance from your car to the fishing spot as close as you can and at the end of the day your arms, legs and sanity will be very grateful.
When do I Take my Kids Fishing?
Planning that perfect day out sound great at the start, however, there is one thing that you cannot count on…. Mother Nature! She just loves throwing that curve ball straight at your well-prepared day out!
What I have found that works most times is to have the gear ready to go for when you have that window of opportunity to get the kids and the gear in the car and go.
Most baits can be wrapped in newspaper and placed in the freezer and it will stay fresh and depending on the type of bait, it will not stink up your freezer.
If you do this make sure that you mark the package clearly “Bait” as we don’t want any mistakes…
Cloudy Days are Good…
I found that a cloudy day was the best to take my kids fishing, particularly if shade is limited or not available, together with a broad brim hat, some sun block and plenty of refreshments.
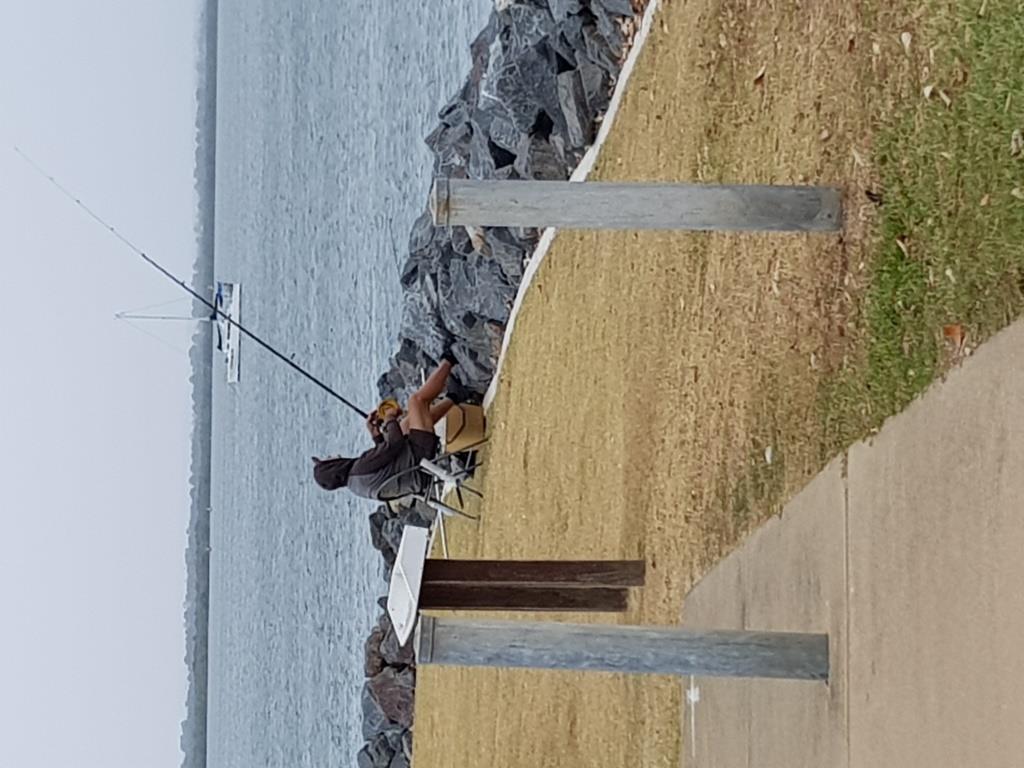
If it is a bit too windy on the day, there are a few locations where you can still get out of the wind and make the most of the outing.
Look for fishing areas inland a bit where you have plenty of trees or other structure to block the wind. If you are not sure where to start looking, we have a Fishing Map on our home page to help you out.
Heat is always a deal breaker when taking the kids fishing, when the mercury rises I have found that the kids (and mine) tolerances decline to a point where you ask, “Why am I doing this??”
So early morning or later in the afternoon are generally the optimum time to venture out and about.
The added bonus of taking the kids fishing at this time is that the fish are normally biting a whole lot better, they are out and about too looking for food!
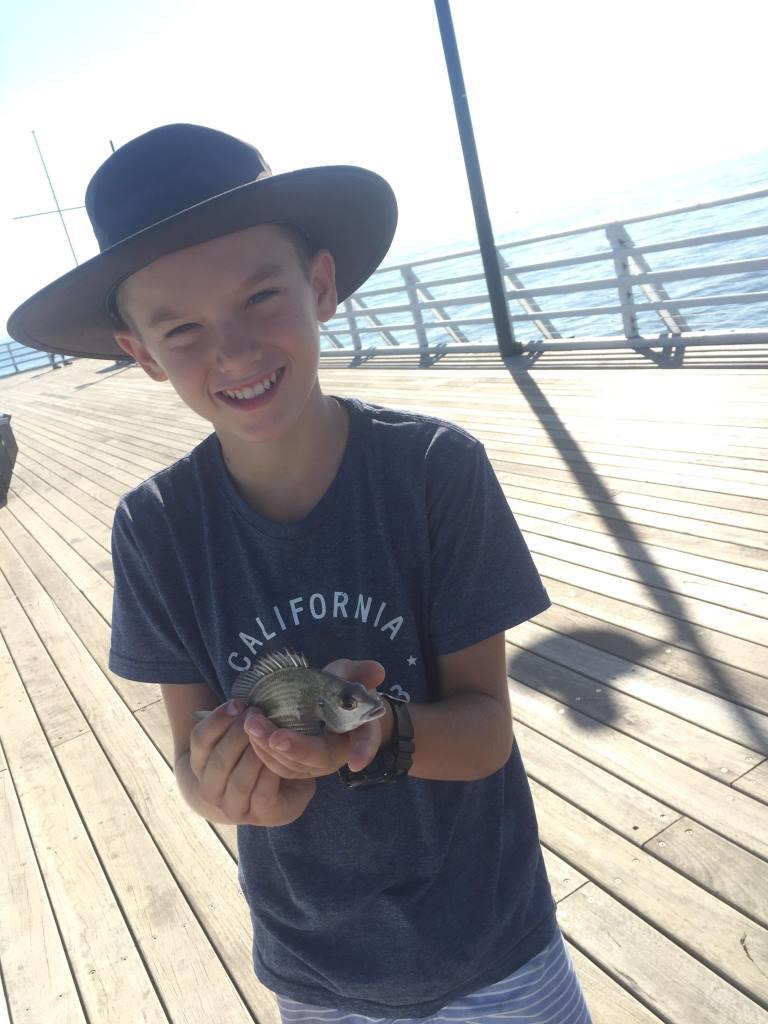
What are we likely to catch?
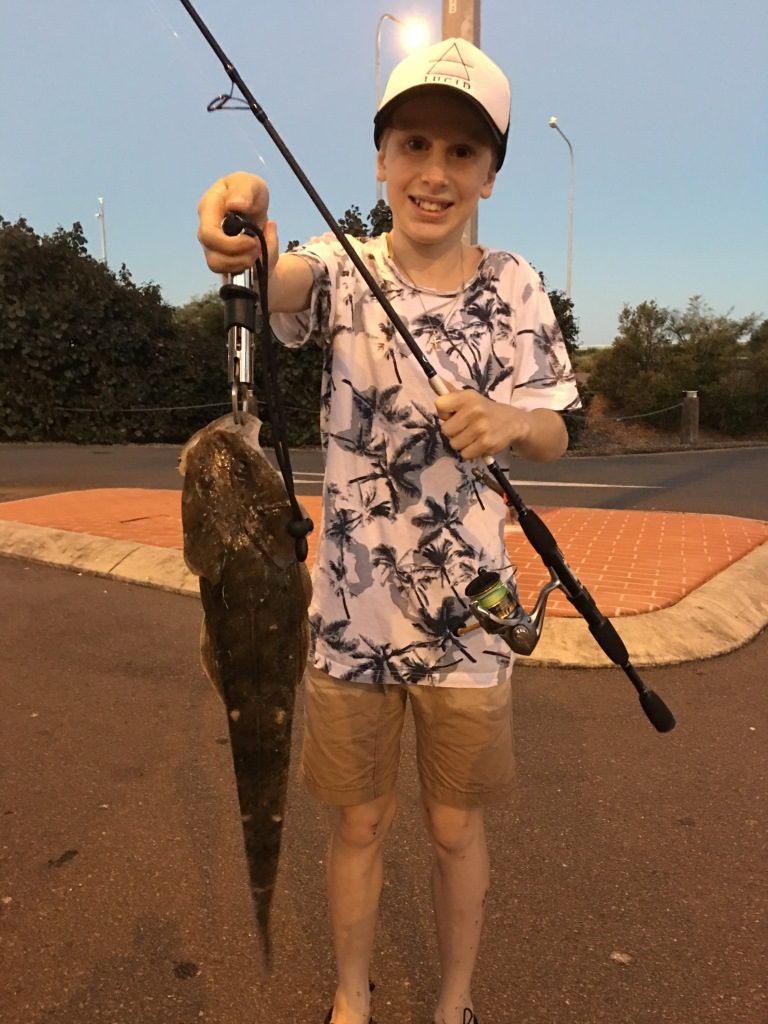
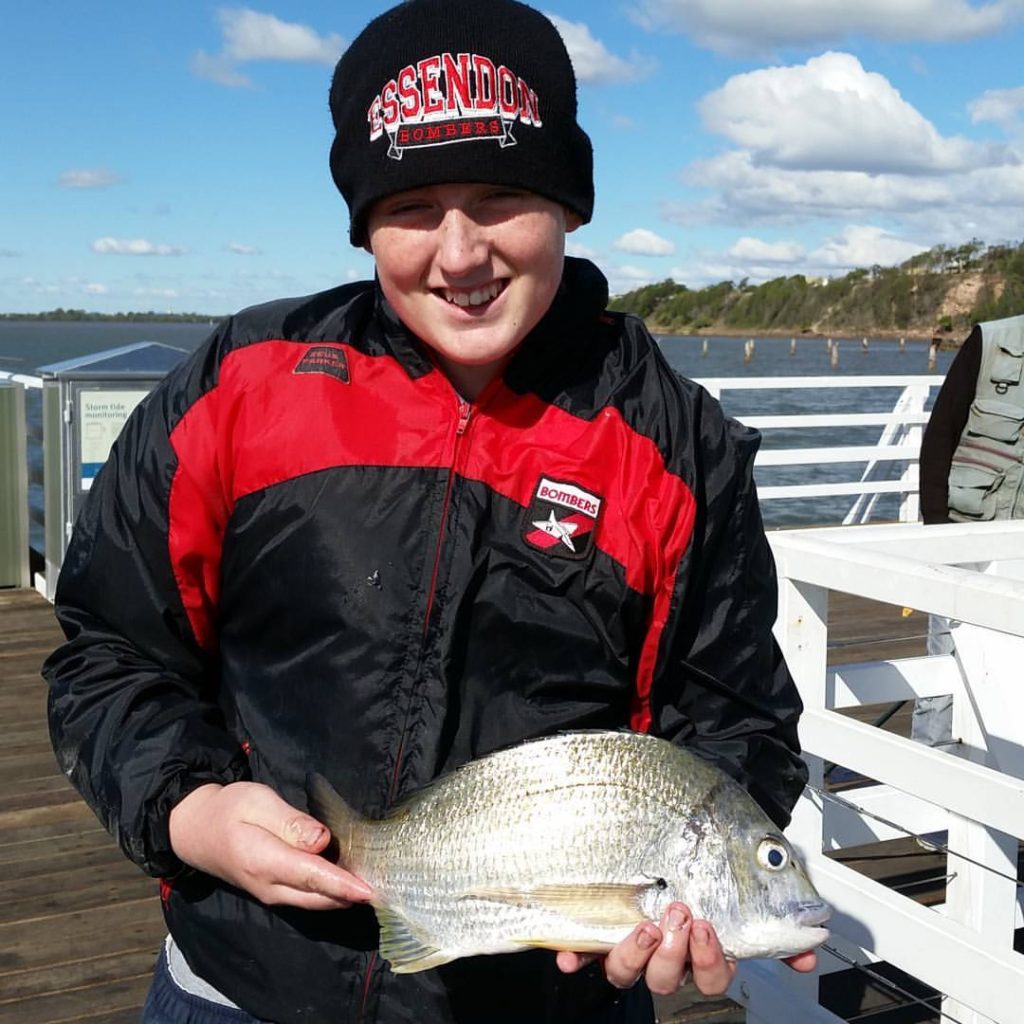
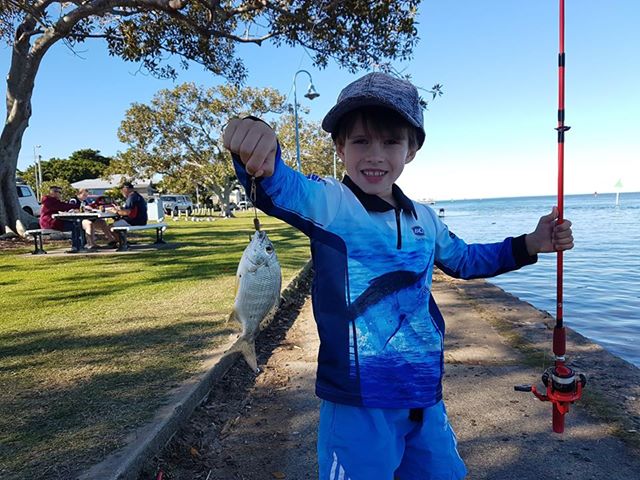
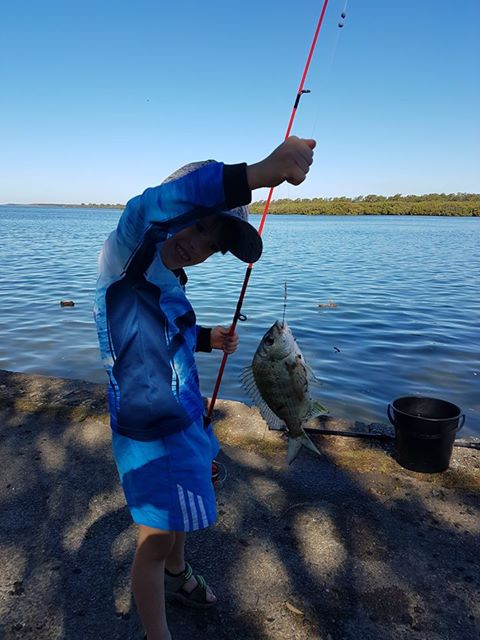
Jetties and Rock Walls are some of the best providers of fish on fun when you take the kids fishing.
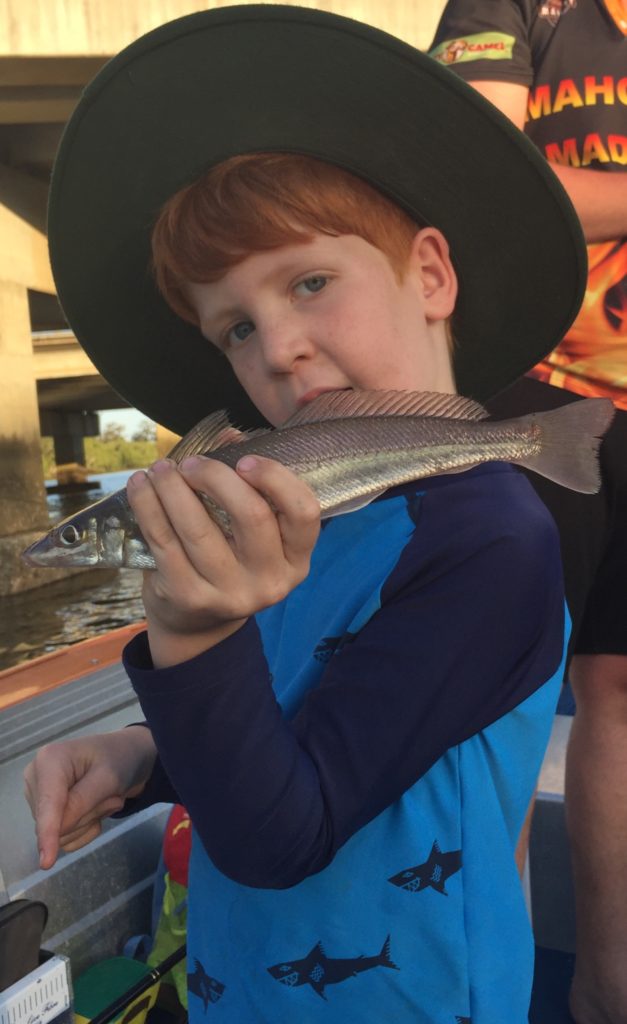
You just never know what it is you are going to catch but Bream, Whiting, Flathead and Toadies are sure to be on the list!


Tides
I am asked constantly, “What is the best Tide to take the kids fishing?” Personally I think it is more about what time you have to take the kids fishing rather than worrying about the tides.
If you take the kids fishing on a Jetty, then there will be fish ready to take the bait!
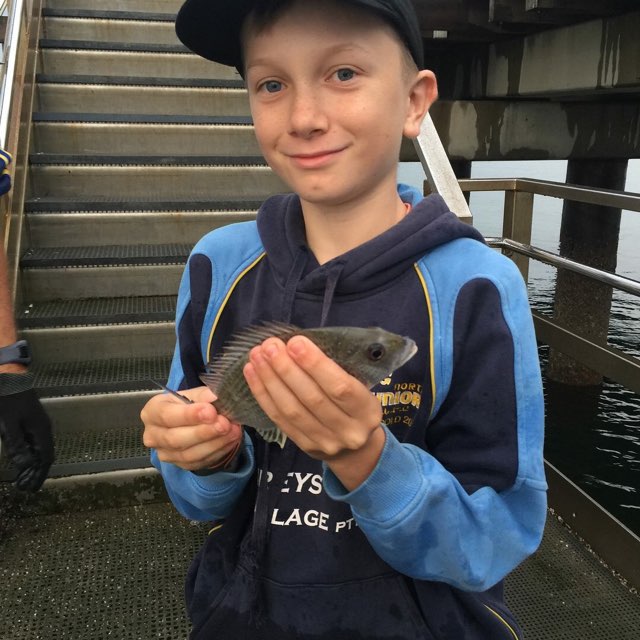
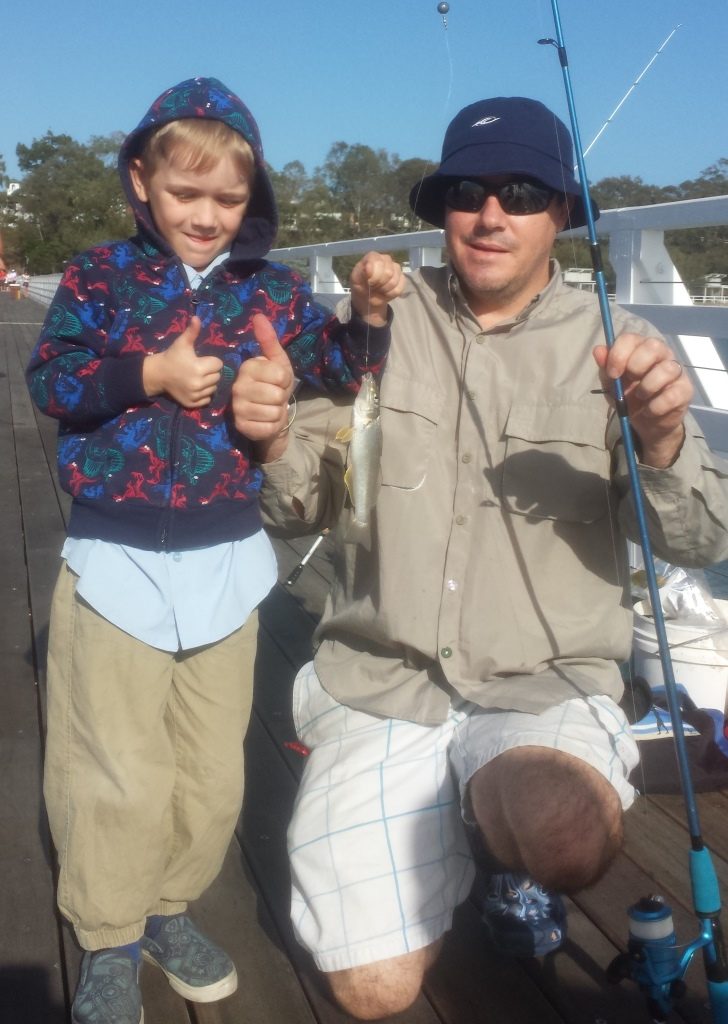
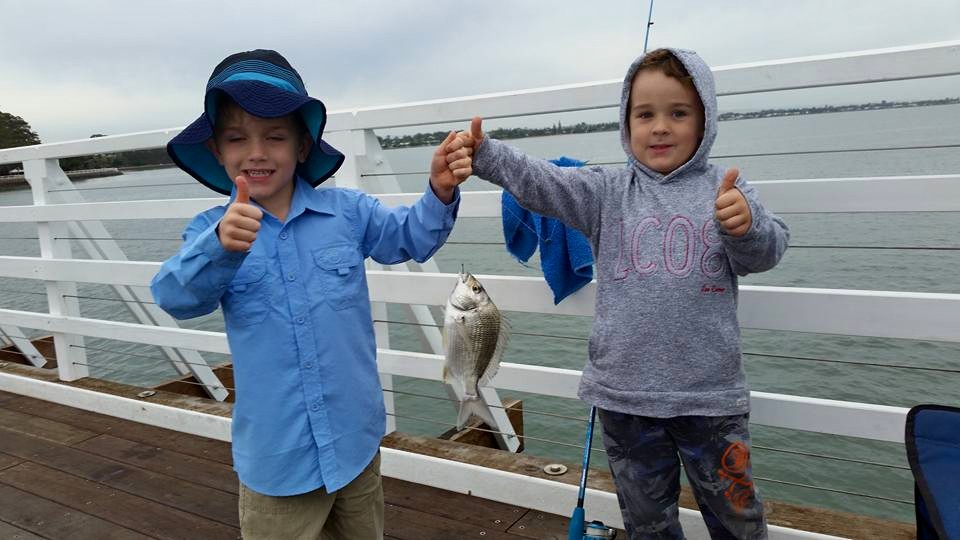
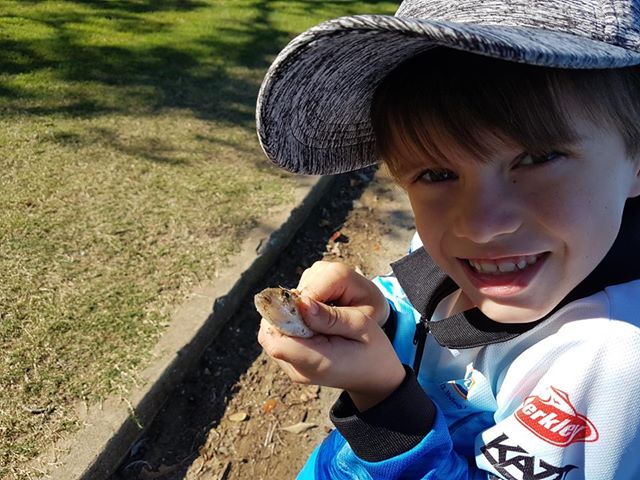
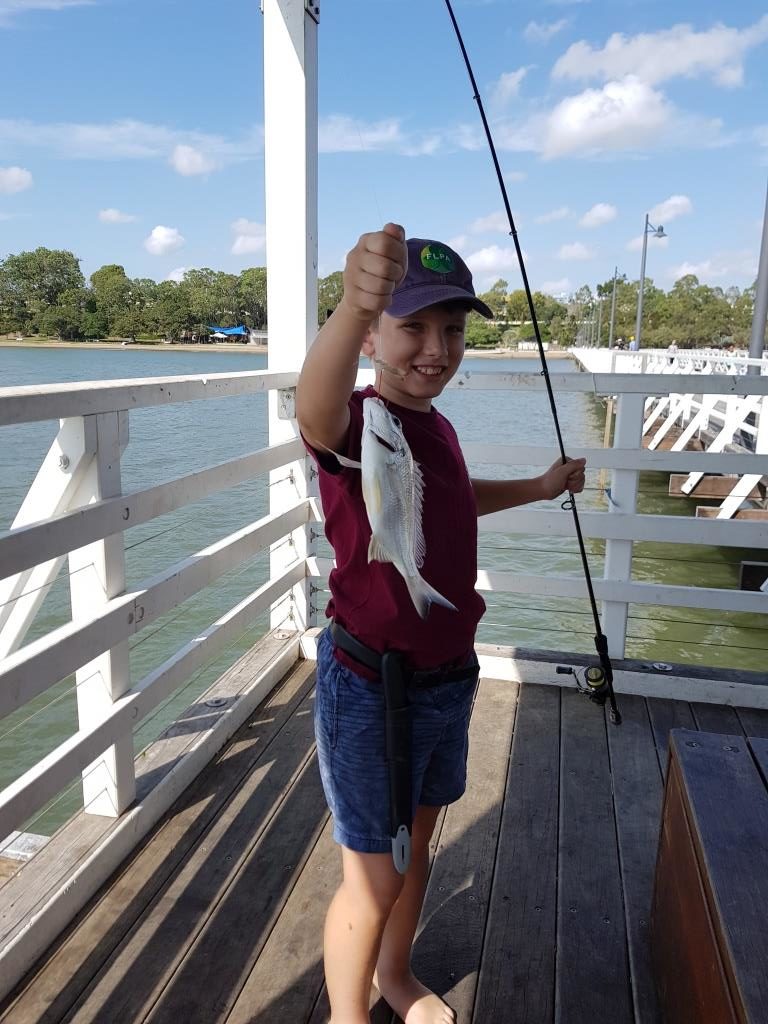
Most kids just want to catch a fish; be it a Bream, Whiting, Butterfish or even a Toadie, they all bring a smile to their face and there is always a photo opportunity for them with their catch.
A key thing to remember is that fish like Whiting and Flathead normally love going into the shallow water to feed so the kids do not need to be able to cast huge distances, rather 4-5m out is heaps.
We watch schools of Whiting as close as 2m out from the edge.
I have taken a lot of kids fishing over the years, it starts off with them being super serious and targeting the “Big” fish that they are going to take home and feed the family to seeing how many Toad Fish they can catch!
I actually encourage this as they are constantly learning and teaching themselves fishing tactics. (Don’t forget to let release the Toadies unharmed as they clean up our waterways)
What Gear Do I Need to Take?
My experience tells me “As little as possible” the last thing you want is to be loaded down with all the gear and supplies and then have to chase after the kids!
Keep it as simple as possible. I have made a “Keep it Simple” list below but you can modify this to suit your needs:

Basic Needs!
- Food, all kids need it and while they are taking a break you can catch your breath! You know your child’s need when it comes to snack so what and how much is up to you.
- Drinks, again ten minutes after you get there “I’m thirsty” is not far away. I found that when my lads were a little bigger I made them carry a water bottle with a shoulder strap.
- This way they could drink when they wanted it and you are not left carrying extra gear. Mind you I had to replace a couple over the course of time, but it was worth it.
- When you take the kids out just remember… You are not the one fishing! So, 1 rod per child or even 2 rods for 3 kids is heaps, they can share or take turns.
- The more rods you take the more tangles you need to get out, the more hooks you need to bait up and more lines you need to re-rig. So, you won’t have the time to fish!
- If you are new to fishing, you DO NOT need to go out and buy a bucket load of gear, again “Keep it Simple” It really is amazing what you have laying around the house.
- With a little imagination you can substitute “the real thing” with, most homes have Tupperware containers, old lunch boxes that will make great temporary tackle boxes.
Tools & Tackle:
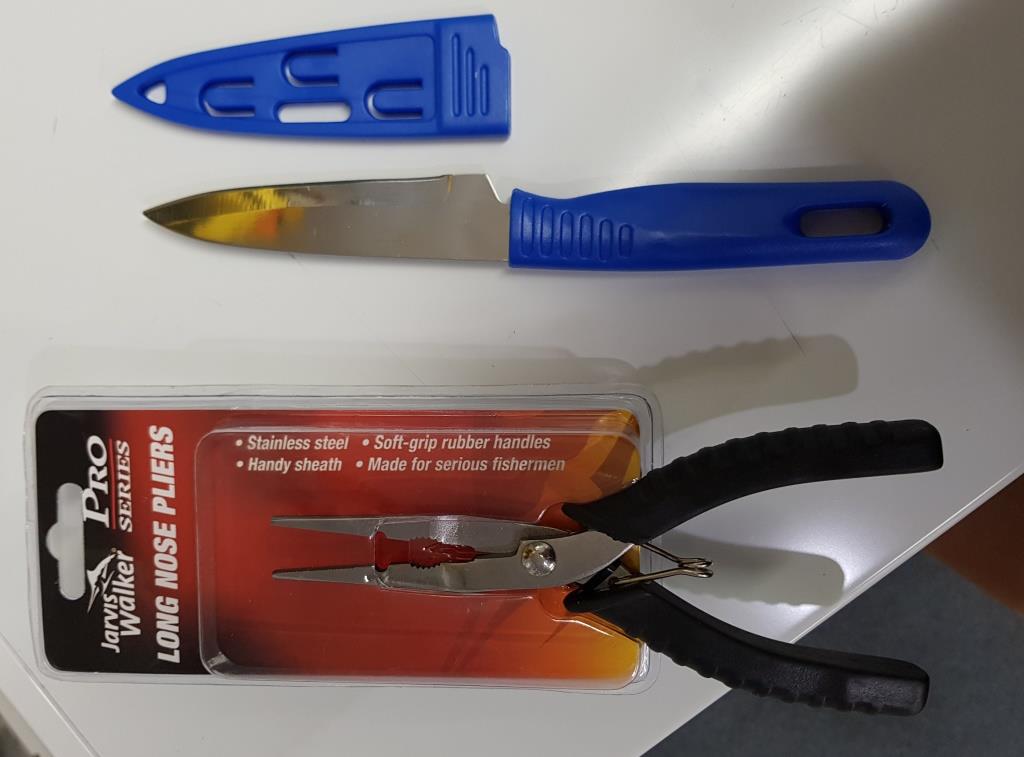
- A small pair of “Long-nose Pliers, (for hook removal)
- A “Ruler” or Tape Measure (The kids will want to know how big that “Monster Fish” was!) We have even seen the old wooden School Ruler being used!
- A “Bait Knife” (a Short-bladed knife from the kitchen draw will do)
- A small esky for the bait (The old foam 6 pack esky is ideal)
- An old hand-towel to hold the fish (stops your hands getting spiked too!)
- Hooks: 1 x Packet of No4 Long-shank Bait Holders & 1 x No6 Long-shank Bait Holders (Small packets about 10 hooks in each packet)
- Bait – Prawns or Worms are normally a great bait to start with, yep people are going to tell you that Prawns come off too easy.
- If they are good quality Prawns, then they will stay on long enough to get some awesome bites or catch you that fish you’re after!
- Look after your bait and it will work for you.
- You must take a camera to preserve the memories that you are going to make while out wetting a line!
- Don’t forget the patience, pack extra, you are going to need it for the first couple of trips!
Bait
Don’t over do it with the bait, I would strongly suggest a single packet of either Prawns, Worms or Squid for the first trip out and adjust from there. You are better off leaving 10 minutes early because you’re out of bait rather than throwing a heap away.
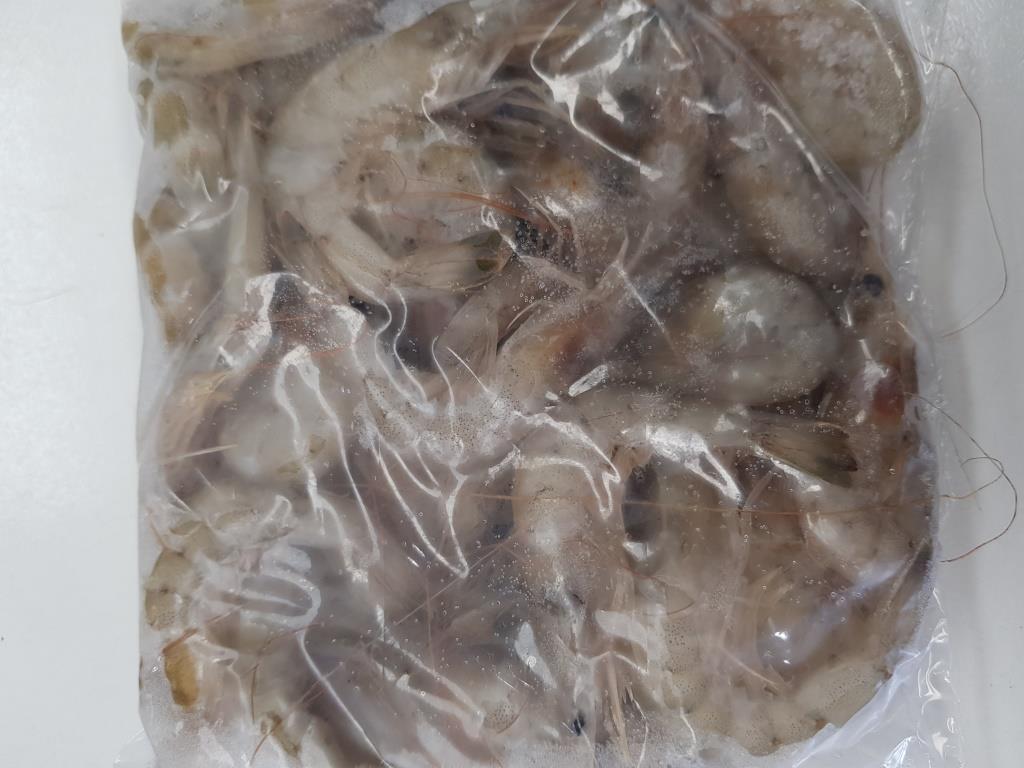
Prawns:
When buying Prawns, they should look “Fresh” White or semi translucent which are perfect, “Black” or “Manky” looking prawns should stay where you found them. If you don’t like the look of them neither will the fish!
It really is amazing how far a packet of bait will go, a small packet of Prawns (About 200g is the norm) should last you for a few hours. If you find that you are going through them at a great rate of knots….. check and make sure the kids are not feeding the wildlife!
Prawns are easy to use, simply twist the head off and drop it in the water where you are fishing (Extra Burley to attract the fish), put the hook in under it’s tail and thread the hook up the middle of the prawn until it comes out where the head was (Or close enough)
Preserved Beach Worms:
You can find preserved Beach Worms in just about any Tackle Store and they keep well when frozen.
When buying them have a quick look at them and make sure they don’t look mushy, gooey or just plain bad, if they do, “Don’t buy them”
Sort through the selection until you find a packet that has a nice “Firm” feel to them and the should look like they are “Full” and they are the ones you want.
Note: You only need about 2cm of Beach Worm for a bait to catch most fish so don’t overload the hook!
To bait up with Beach Worm, start at one end, place the hook in the centre of the worm and just thread it on until the hook comes out the other end and you’re done.
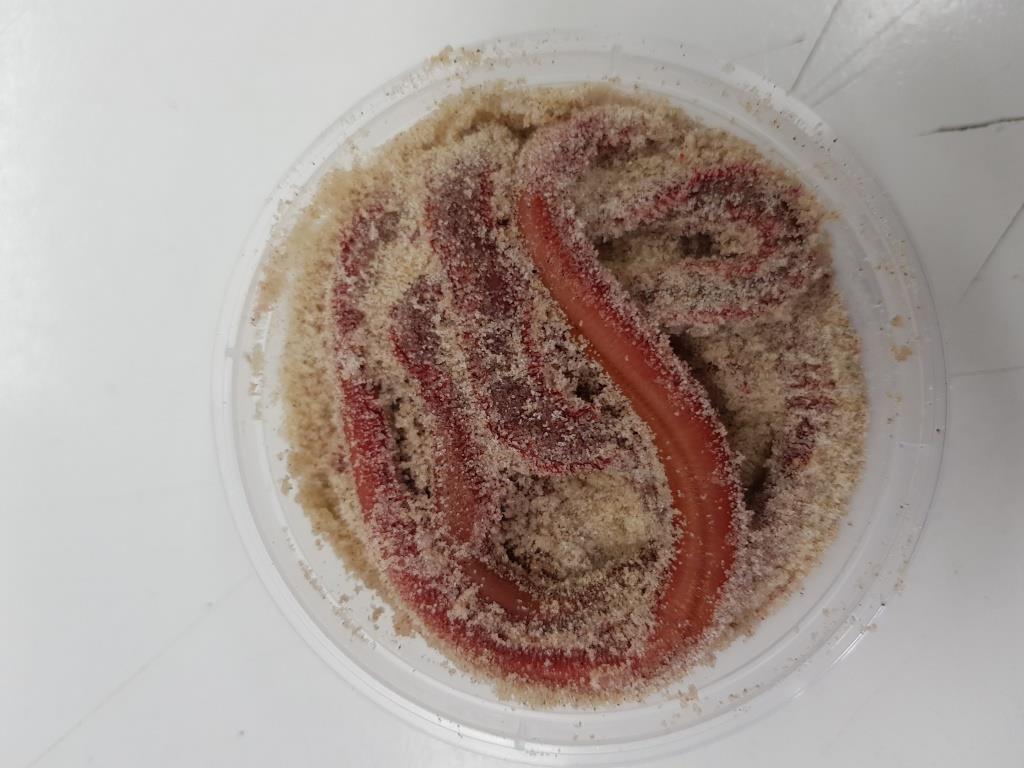
Preserved Blood Worms:
These guys can be hard to find, not many Tackle Stores carry these little guys. If the look “Nice” in the frozen packet, chances are they will be the goods you’re after.
Good Worm Diggers and the Tackle Stores appreciate the value of these worms and look after them exceptionally well!
They normally cost a little more, but they are a great bait.
Note: You only need about 2cm of Blood Worm for a bait to catch most fish so don’t overload the hook!
To bait up with Preserved Blood Worm, start at one end, place the hook in the centre of the worm and just thread it on until the hook comes out the other end and you’re done.
Live Blood Worms:
Firstly, “Watch out they bite!”
These guys have nasty little pinchers and sometimes they can draw blood!
I would strongly suggest that you get a few trips under your belt before you tackle this little challenge.
When the kids get bitten on their first trip out = No more trips out!!
If you dare and decide to grab a packet of Live Blood Worms, then they should look nice and clean and a bit frisky as well.
Sometimes they are in small pieces (They do attack each other and bite pieces off) makes sure the pieces are still glossy, if there are manky bits that look like they are starting to rot, don’t buy them.
To bait up with Live Blood Worm, give it to a mate to do…. No, you just cut off the amount you want to use.
Start at one end of the piece you cut, place the hook in the centre of the worm and just thread it on until the hook comes out the other end and you’re done.
Remember they are a live so the kids might think that you are “Hurting” their new best friend so be a bit tactful.
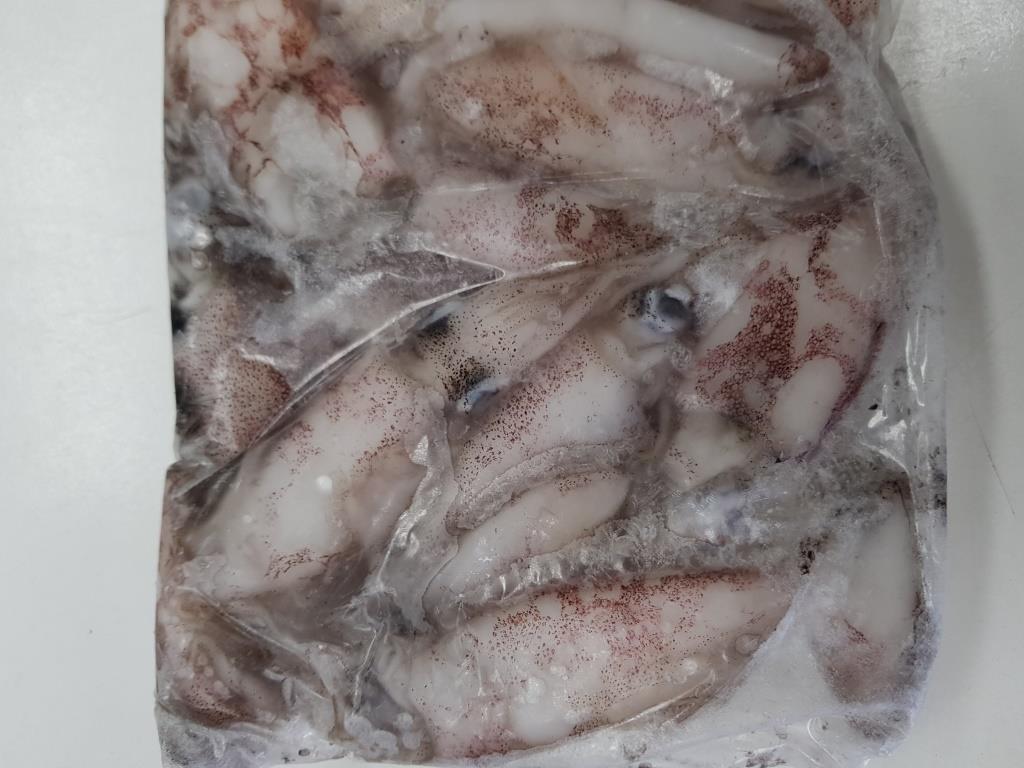
Frozen Squid:
This a very universal bait that can be used in so many different ways and it stays on the hook really well, but firstly choosing the right packet.
When you buy Squid to eat, it should look clean and fresh, a nice opaque or white in color.
There are many places that sell Pinky Red Squid, this is not the freshest but when you don’t have many options this will have to do.
I normally use a small packet of Squid for the kids, you can put a whole squid on if they are really small and this does work well.
But I prefer to cut them into strips about 2cm long, the same size as the Worms above.

Multi Pack Baits:
Some of the Multi Packs or Mixed Packs you can get these days are really great value and so easy to share around between your kids.
The Jetty Pack is by far the favourite with a lot of families with a mixture of Local Prawns & Salted Mullet or Local Prawns & Small Local Squid in a divided container.
So, we have the basics covered for what your bait needs are, just remember not to over do it when buying your bait!
If you have left overs you can either share your spoils with the fish below or you can take them home, wrap them in Newspaper and place in the freezer for next time.
If you are going to take your bait home, please make sure that you clearly mark the wrapping as bait! Nothing like defrosting a meal only to find Squid & Prawns on the menu!!
Getting Your Rod & Reel Ready
How hard can it be? Well to those who have never done it before it can be as easy as driving a Leopard Tank…. Very challenging so we have broken it down for you the best we can.
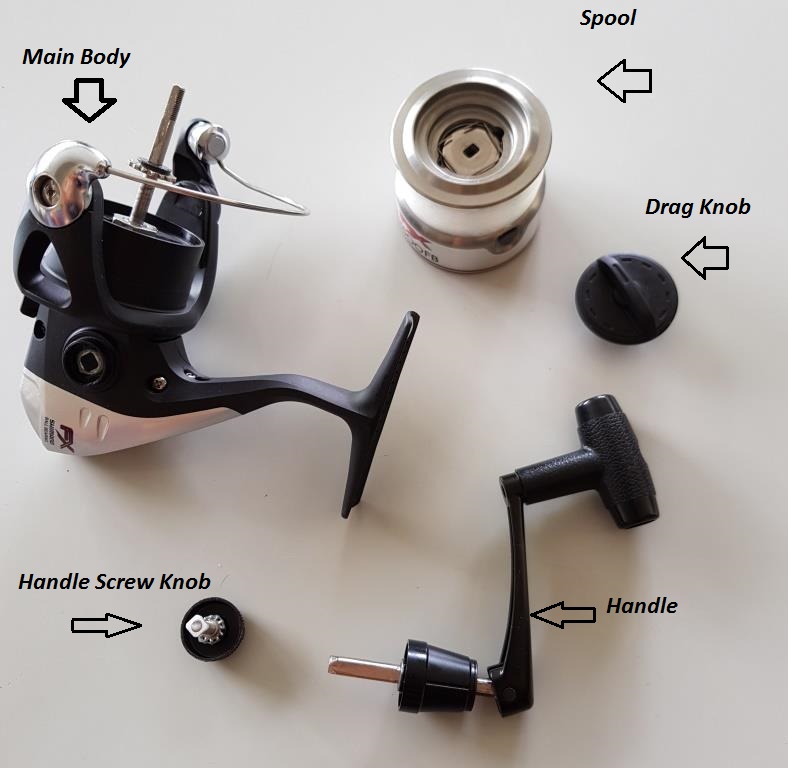
Before we get into the “Rigging” part it is a good idea to know what it is you are using so I have broken the Spinning Reel down into its basic form for you:
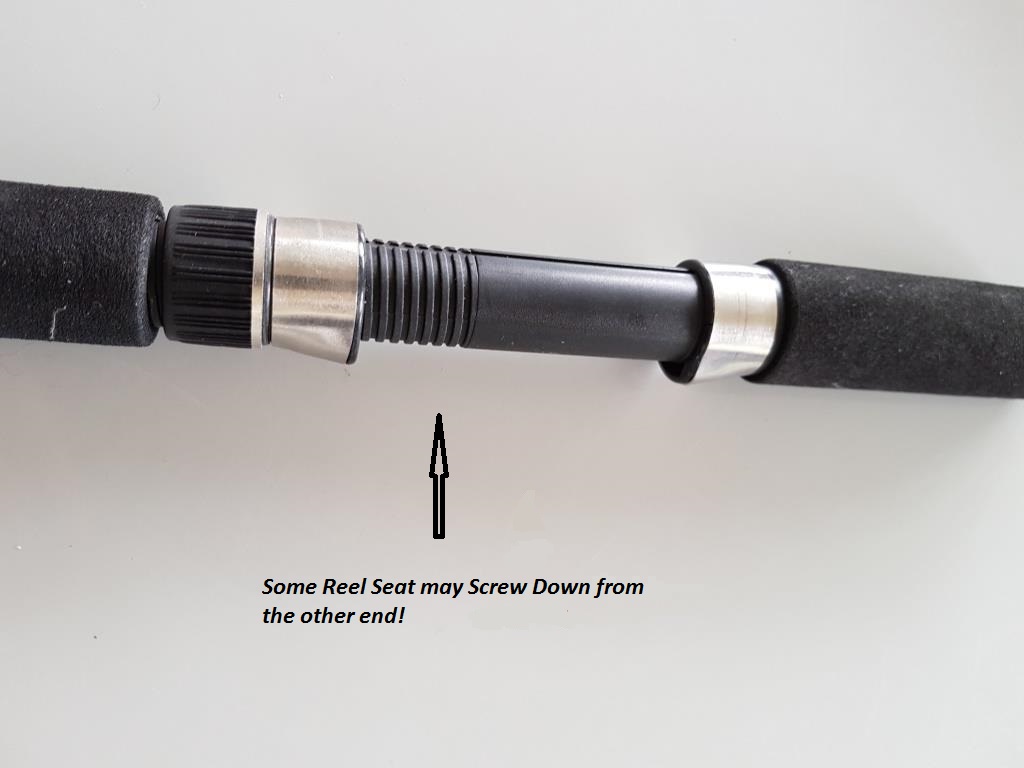
Attaching Reel to Rod
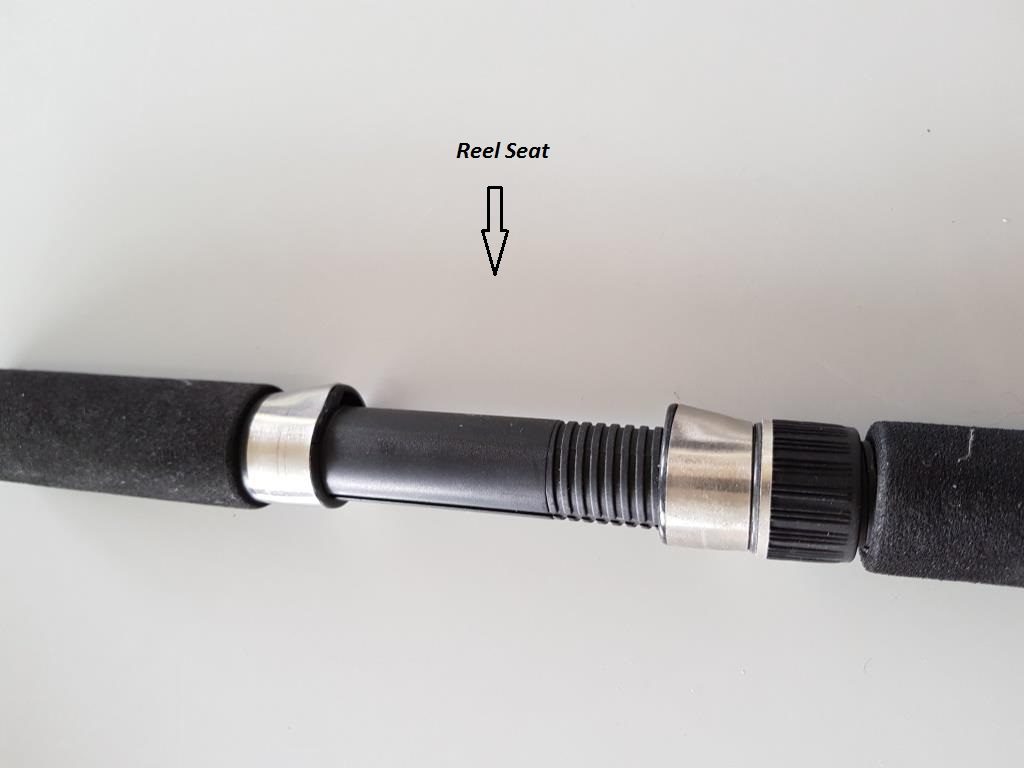

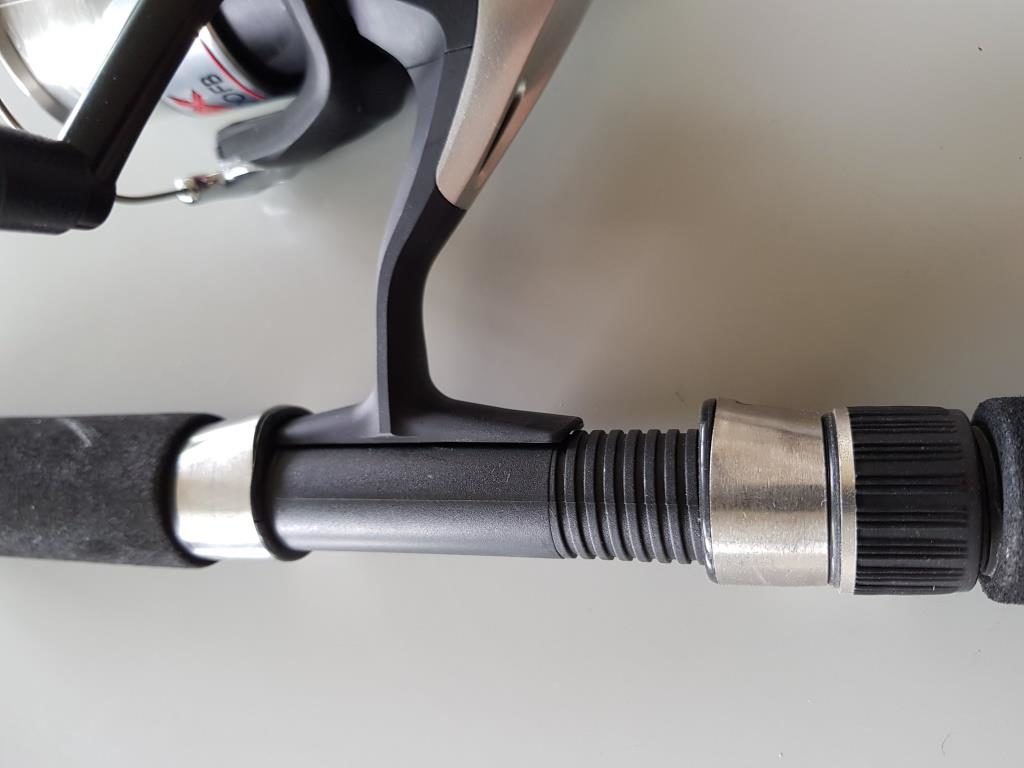

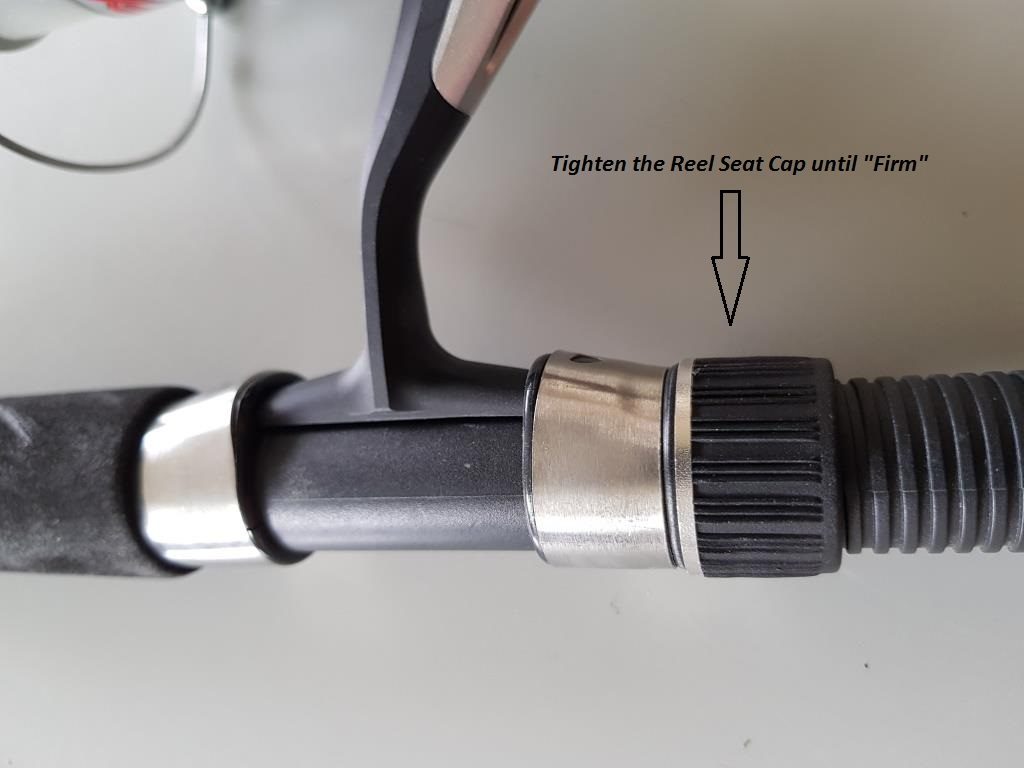
Note: Not all the rods are the same so other may “Screw down from the other direction but this make no difference.
Spin Reel Broken Down
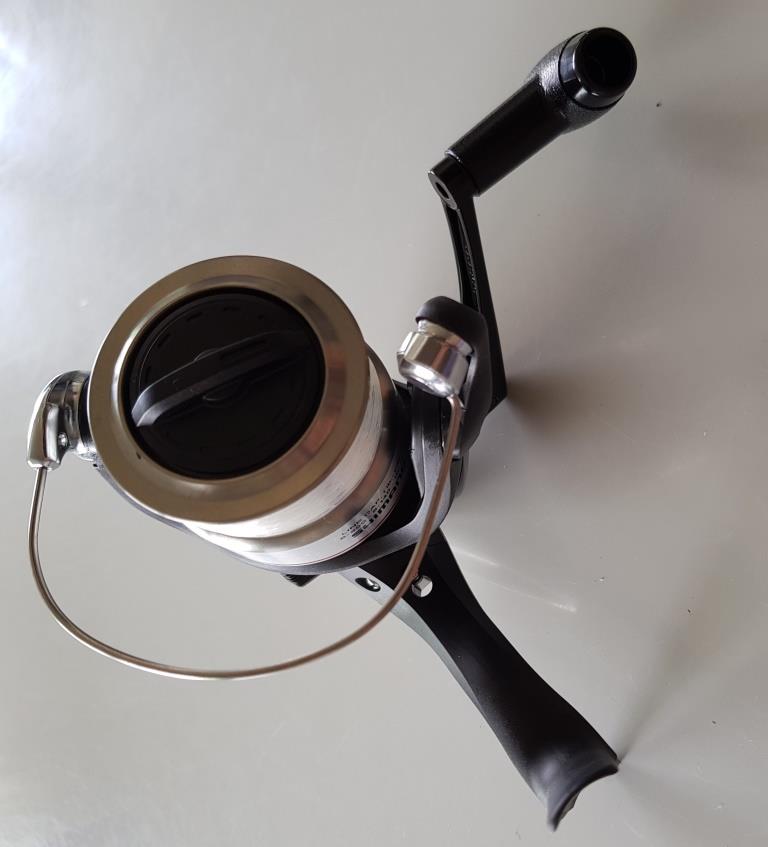
Changing Handle from Left to Right Handed


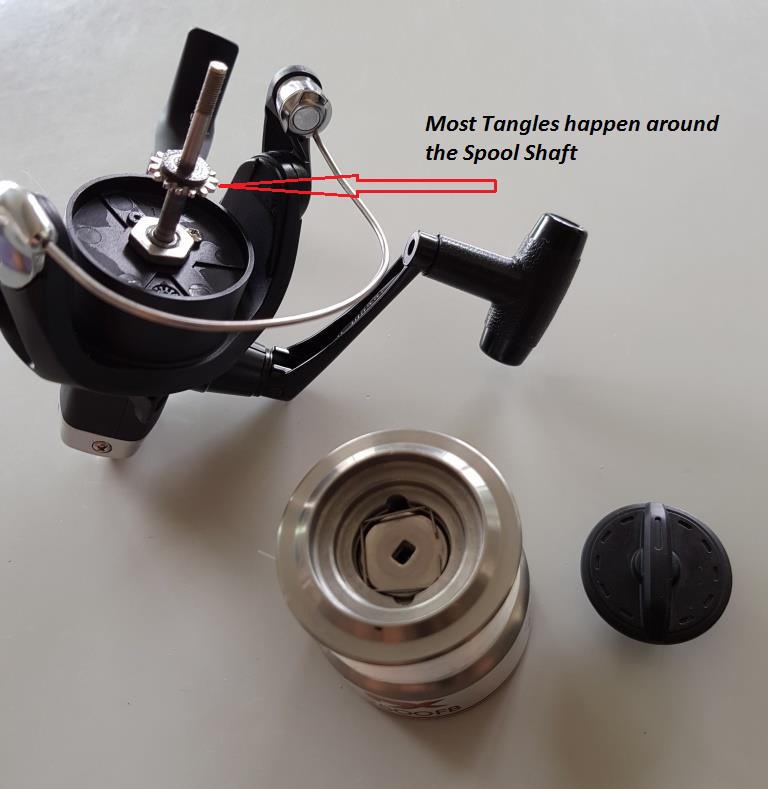
Common Tangle Areas
When you take the kids fishing you will soon become the master of knot removals, untangling lines and identifying parts of the reel that you never knew existed, you need to embrace this challenge and it becomes easier!
Rigging Your Rod
Once the reel is attached to the rod, open the “Bail Arm” grab the end of the “Line” and thread it through all the “Rings” starting with the largest one down the bottom.
Once you go through the very top eyelet, pull through about 1m – 1.5m and the start to rig up as per the following directions.
Rigging:
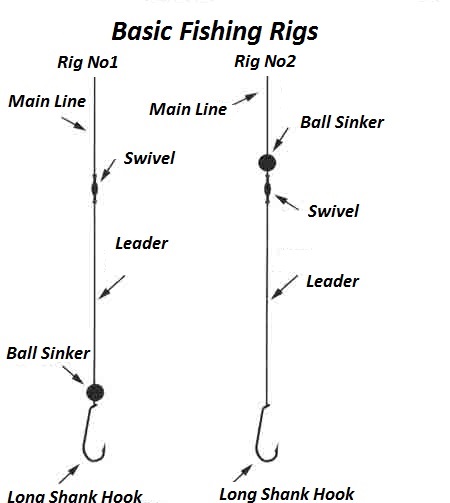
One of my favourite all round rigs is a simple one, I attach the Leader to the main line either directly or by using a swivel. I place a small Ball Sinker on and then I tie on a hook, bait up and you are fishing!
The other rig I use is the same but this time I put the Sinker above the Swivel, not much difference but the down side is you have a piece of line with a hook swinging around…
The diagram clearly shows the two rigs for you. There are so many more rigs that you can use but these two should be your “go to” rigs in the early stages of fishing.
Knowing Your Knots
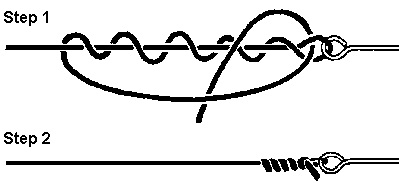
I like to teach people 1 knot to start with because if you try and learn too much in one hit it become very confusing and you will end up putting it all in the “Too Hard Basket”
I like the “Locked Clinch Knot” it sounds impressive and complicated, but really it is an easy knot and I use it for all my tackle tying. It can be used to connect your Leader to Hook or Lure, your Main Line to Swivel and to finish, your Leader to Swivel.
When tied correctly, it is a very strong knot and it will keep you and your kids fishing through the day!
Other Resources
It is good to have a basic knowledge before you take the kids fishing and this is what this artical is for, so when you are ready for more information overload you can check out these articals on our site as well.
I hope this has been of some help to you and the kids, please go out there, don’t over think it and just have fun!
Maintain The Passion!!